
Contact
Write to Us And We Would Be Happy to Advise You.
Do you have any questions, or would you like to speak directly with a representative?
By ren
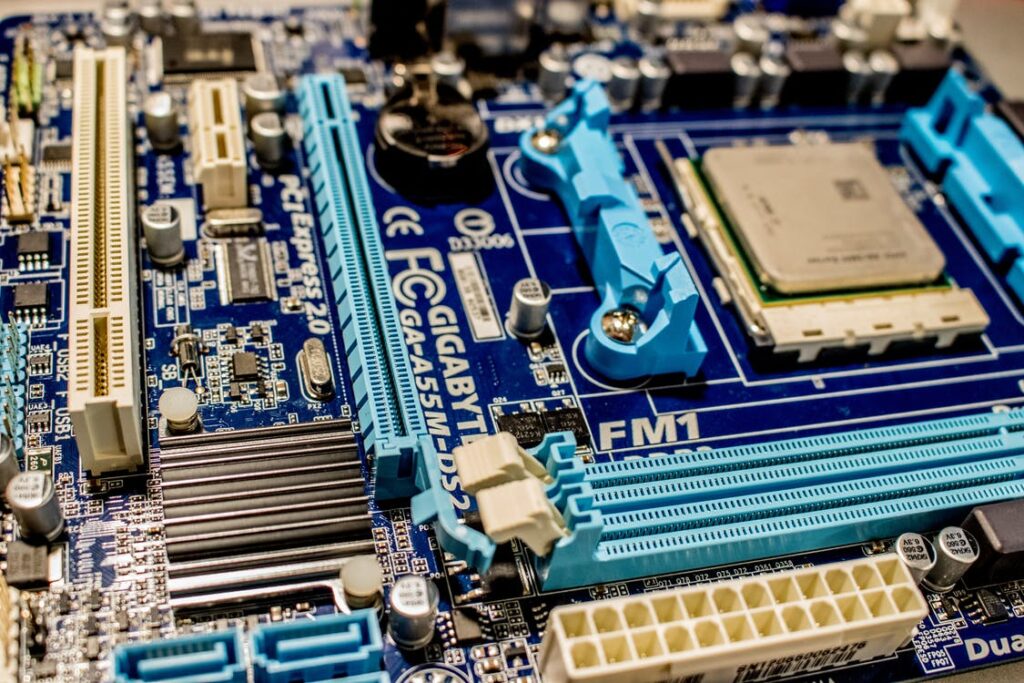
We encounter PCB boards in every device we use. Whether it's a smartphone or a basic calculator, PCB performance is essential to their operation. Custom printed circuit board are pivotal.
Beginners often mention PCB breadboards when talking about building a basic circuit. However, the PCB breadboard is not durable, and your circuit's wires may be seen strewn around. Any wire might be cut off at any moment. So you need a durable, dependable board for a permanent project or circuit. Furthermore, without a specialized circuit board, the circuit seems to be a whole jumble. Its surrounding cables take up more room and are less reliable.
Fortunately, a bespoke circuit board can fix all of these issues (PCB). Since there are no wires connecting the components on a PCB, it is more dependable than an open circuit and is fairly small. Regardless of how intricate your circuit is, the PCB can fit everything in a small area while assuring longevity, dependability, cleanliness, and longevity.
The PCB is an essential part of many electronics, as was previously mentioned. Let's now analyze the engineering marvel that went into creating your TV and remote. A kind of PCB is included in the remote, which enables the TV to change channels with the touch of a button on the remote.
The PCB has a variety of uses that improve our everyday lives and provide us with more flexibility. PCB makers utilize a variety of PCB types to fit various goods depending on the usage. Among the varieties of printed circuit boards are;
The solder mask is located on the copper layer, which serves as a shield for one side of the substrate. A silkscreen coat is often used to label the board's components.
Only one side of this sort of PCB may house the circuit and another electrical component. In the production of basic electrical devices, they are often mentioned.
Compared to single-sided printed circuit boards, double-sided printed circuit boards are used more often. One or more methods are used to link a circuit on one side of the double-sided PCB to the circuit on the other side via the holes in the board.
Surface mount technology is the first way used to connect the circuit via the holes; there are no wires used in this sort of technology or procedure.
1. When compared to double-sided printed circuit boards, multilayer PCBs perform more functions.
2. This kind of printed circuit board has several substrate boards that are divided into separate sheets by insulating layers. Of course!
3. Printed circuit boards with several layers have a maximum layer count of ten or even more. They are included in well-known innovations like machinery and other things.
This sort of PCB employs fiberglass as one of the components to stop them from bending. The board within your gadget is a prime illustration of a stiff printed circuit board.
Of course, the substrate included here is flexible given the term "flex," The flexible printed circuit board may fit well into this category since the stiff printed circuit board cannot take the necessary shape.
The stiff-Flex printed circuit board combines the benefits of both rigid and flexible printed circuit boards.
This kind of printed circuit board makes it possible to connect a flexible printed circuit board to a wooden printed circuit board, which seems more challenging with other kinds of printed circuit boards.
1. Various circuits need different components, regardless of the design philosophy used to create any device.
2. Some of the characteristics that must be included in every electronic device or product are listed below.
3. LEDs: The abbreviation "Lead" stands for "led to the emitting diode." Current is allowed to pass through the led emitting diode, but it is only allowed to travel in one way.
4. Resistor: The resistor regulates or controls the current, performing a crucial task. To identify their value, resistors are color-coded.
5. Battery: As the storm's primary job, it is in charge of supplying energy. The battery is in charge of providing the circuit with voltage.
6. Transistor: By causing the charge to become more intense, the transistor performs a crucial role.
7. Switch: The switch is a component used to regulate the flow of electricity. The button may be used to allow the current to enter or to prevent wind from entering.
8. Diode: A diode is a component that only allows one direction of electric current to enter. While just a guide is allowed for electric current to travel, other pathways are blocked.
9. Inductor: The inductor is in charge of charge storage.
The following stages are described in depth in this section:
The first step is the creation of a custom PCB, which involves converting the schematic into a printed circuit board.
The printed circuit board (PCB) lesson starts with this very first step. After you have completed your schematics to a satisfactory level, you will be able to convert them into PCBs by selecting "convert to PCB" from the menu of the editor that you are using.
The second step is to position the document precisely where you want it to be located in the final stage. Components that share a purpose should be arranged next to each other on the printed circuit board if you are the sort of person who values a tidier-looking finished product.
After finishing a new system using the PCB tools, the first thing to do is go to the layer menu, click on the board outline layer, click on the existing outline, and remove it. After this, go back to the layer menu and choose another board outline layer.
When numerous components are connected to a single signal, the copper region may be conceived of in the most useful way. Utilizing the tools menu will allow you to generate this copper region.
There are two different ways to approach this strategy, and they both depend on the kind of current being used. Utilizing the auto-router feature is an option in situations when there is a low current while manufacturing the printed circuit board. If alternative track sizes are required, it is recommended that you carry out this process manually. You need to scroll to the top of the page to use the auto-router feature.
There is a possibility that you may need to install your printed circuit board on something else and to do so, holes are necessary. You can find the Hole tool in the Tools menu. Once you do that, go to the location that you wish to use.
To do this, you will need to go to the tools menu and select either the picture or text tool, depending on which option you want. You are free to place the text in any way you see fit, as well as modify the necessary layer or the book itself.
When you have finished the processes in the previous section, you may finish off your job by looking at the outcome. You have the option of modifying the appearance in several different ways. When you are satisfied with the product, go ahead and purchase the PCB by clicking on the "fabrication output" button.
Read more: Box build manufacturing assembly
When you are attempting to come up with a circuit for prototyping, your best choice is to start with a custom printed circuit board. They make the most efficient use of the available space, which is seen favorably by the majority of design professionals. Custom printed circuit boards (PCBs) are available in a wide variety of configurations, degrees of complexity, and applications, similar to the vast majority of other products on the market. You wouldn't want to dither on this any longer, since we are right behind you, and all it takes is a call to get things moving in the correct direction! Get in touch with EuorpePCB as soon as possible to ensure that your interest in our high-quality items is protected.
Do you have any questions, or would you like to speak directly with a representative?